It's been a while since I don't post anything here. It does not mean I'm doing nothing.
1 Comment
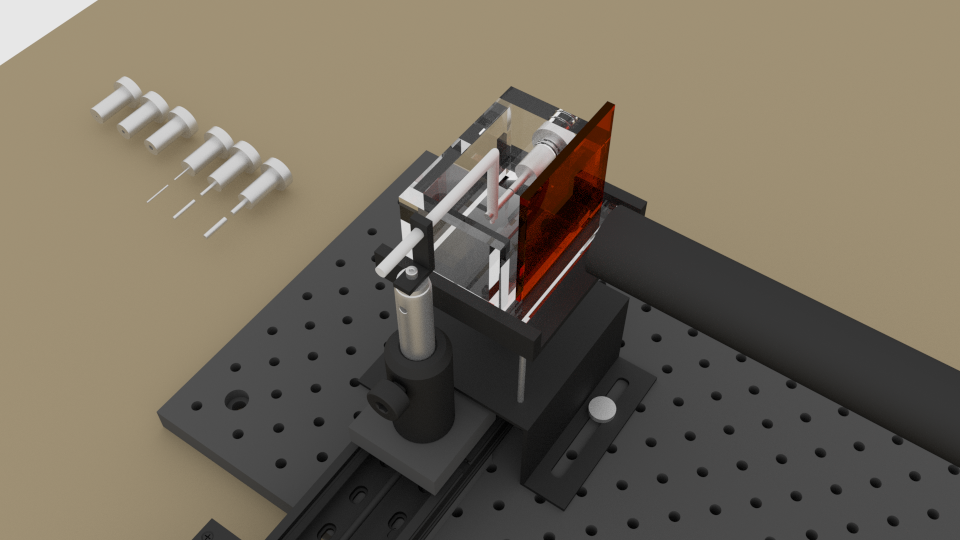
Whenever possible I try to use Blender at work. Here are two renders of an experimental setup I'm preparing. Apart from the visual aspect, it was useful to quickly check possible conflicts between parts and to size the necessary free paths of the lifting table. 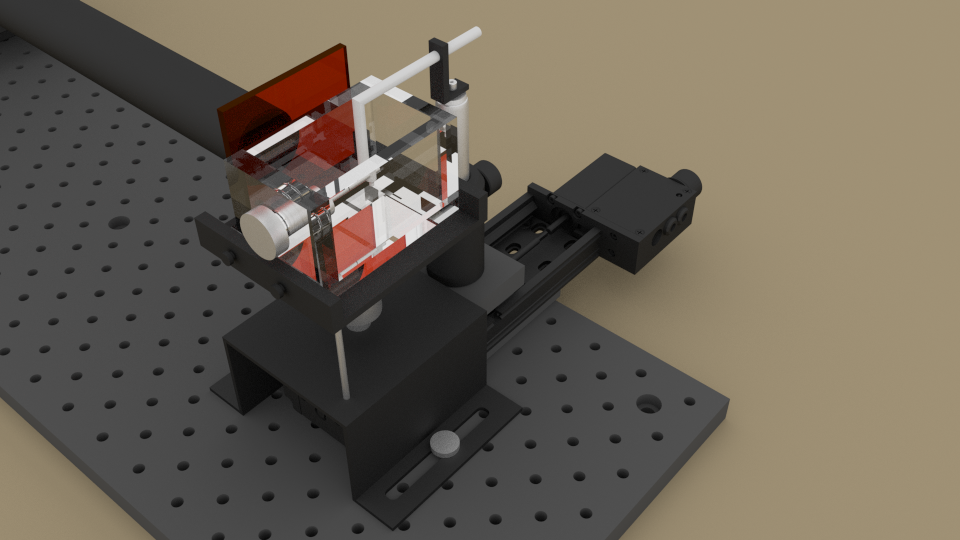
This is my most recent finished project in Blender, which took me some months to finish in my spare time. It's an advertising to promote Fluidinova as producer of nanoXIM an ingredient used in dental products to prevent/eliminate hipersensibility and also helps in whitening. Portuguese technology sold all over the world. Almost finished the promotional video I've been working on in the last months. Meanwhile, a small animation for a contest in the Portuguese Blender Forum: http://forum.blender-pt.com/ in which the objective was to make a 5 seconds animation in loop. Here's mine: 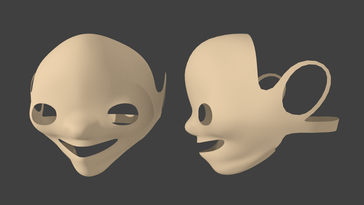 It's been almost a year since I left in stand-by the animation short movie I'm creating with Blender. I made the animatics then and now it's time to keep developing the final version. For now, I'll start by modeling the main male character from this concept art by a friend, Miguel Melo. I can't guarantee a fast pace on the development of the movie, but I'll try to work on it a little bit every week.
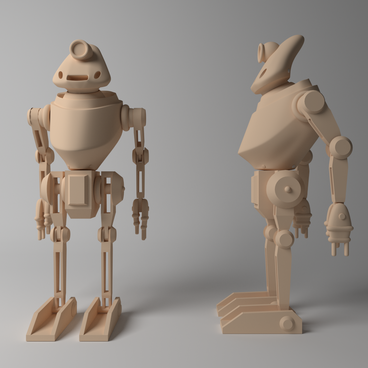 This is a work in progress for a project of João Cesário, the author of Aura Mecânica, a b&w comics that he is now managing to convert it to a 3D animation movie.
You can follow the development in the facebook page or and in the portuguese blender forum and you can help by modelling some of the missing characters and props. This is my small contribution for the project so far, I've modeled this character, "Robot da construção civil" from his reference drawings. It still needs some touches and the rigging but it's almost done. The final renderings will be in black and white with a technique developed by Paulo Martins.  During the Blender PT Conference 2013 that was organized in Oporto in 6-7 April this year, I made a presentation about an article I submitted to show how Python can be used to make repetitive tasks a lot easier. In the example of the article, I wanted to show population statistics of the 308 Portuguese counties for different years, by placing the respective region with a height proportional to the statistical data like in this image. It would be a pain to change all the regions height one by one so I described how to create a python script to read the data from an external file and to change each region height automatically. Additionally I show how to create automatic key frames so that it is easy to animate the data along time and how to create a personalized menu in the Blender interface to make it more user friendly. I deliver now the article and the example files for anyone to explore it, to learn from it and to modify it or improve it if you want. You can download it here. In the following video you can see an example of an animated presentation of population statistical data. So I've finally finished the short demo of the Laser Sheet OSL shader to simulate a laser sheet illuminating the objects in a scene. In order to use it you must use Cycles, with the OSL option enabled. Add a script node and choose the LaserSheet text file. You should end um with something like this: 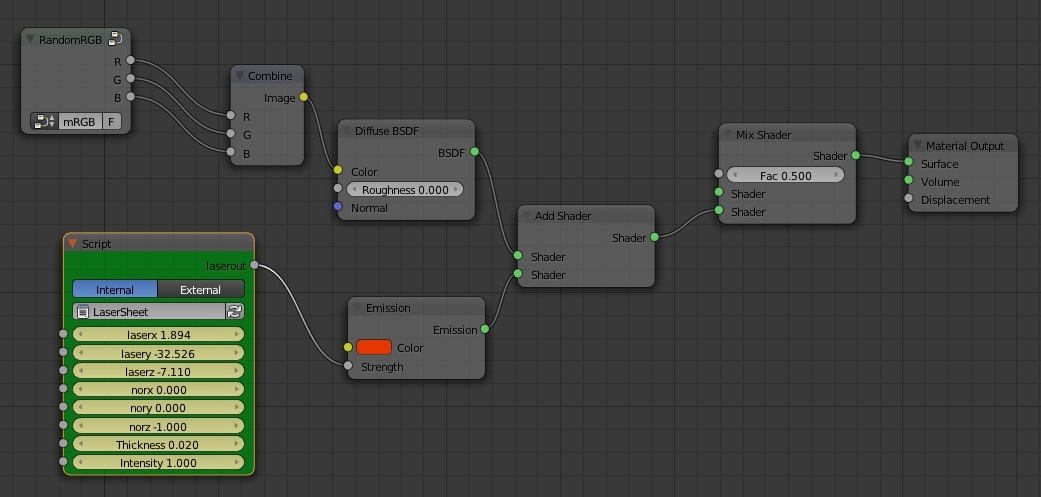 You just have to connect the laserout node to an emmission shader which is then added to the original base shader of the object. In this case I've used the same material for all objects, with a random RGB value node group that I've created some time ago in order to have some variation in the scene. In the script, we have two inputs for the laser thickness and laser intensity (do not use high values...), 3 inputs for the laser origin, 3 inputs to define the normal to the laser sheet plane. ( 0,0,1) will be a horizontal plane (XY plane), (1,0,0) will be a YZ plane, (0,1,0) will be a XZ plane, but you can use other values). You can input all these values by hand but in order to create an easier and more visible way of where the plane will be, I've introduced 3 empties in layer 2 which define the origin and the orientation of the laser plane. After placing these as we want, just run the python script "LaserUpdate" and the input values of the OSL script will be updated accordingly (insert then keyframes as needed). You should de-activate layer 2 when rendering since the auxiliary plane will act as an obstacle interfere with the script. So here's a demo of what can be done with this OSL shader and you can download the .blend file here. UPDATE! (04.01.2012) - An updated .blend file can be found here with an easier way to define the laser position and orientation from a plane, thanks to SlykDrako who did it using drivers and a python script. The plane might interfere with the laser sheet by creating shadows. Disable layer 2 when rendering if needed. After the 2012 Christmas video, now a happy 2013 postcard! 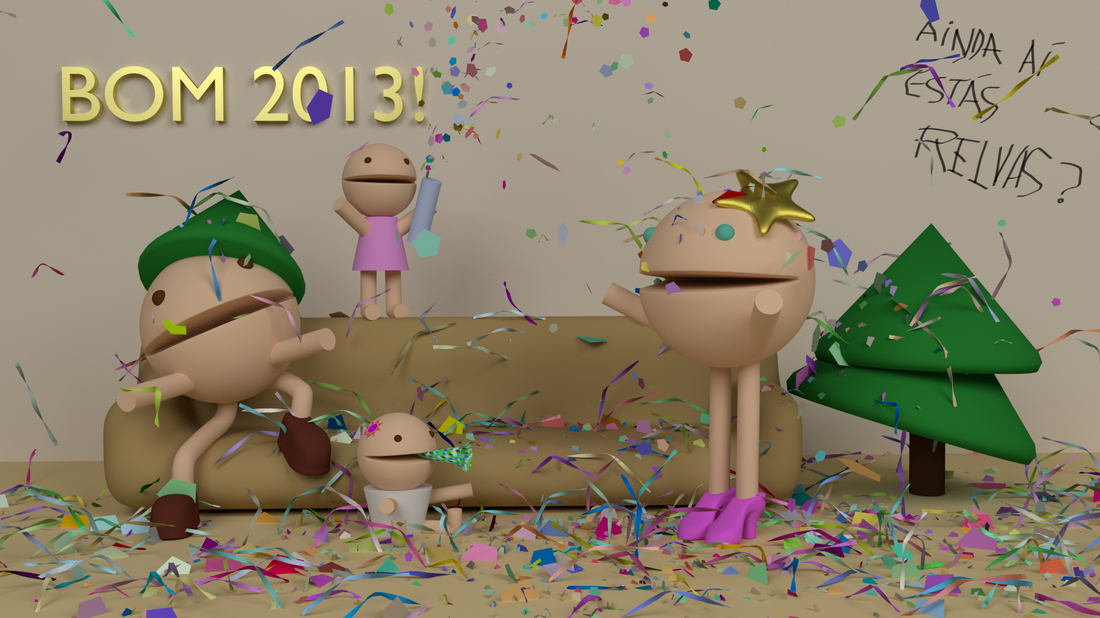
|
AuthorRenato Sousa Blog up to October 2012Archives
August 2016
Categories
All
|

|
|

 RSS Feed
