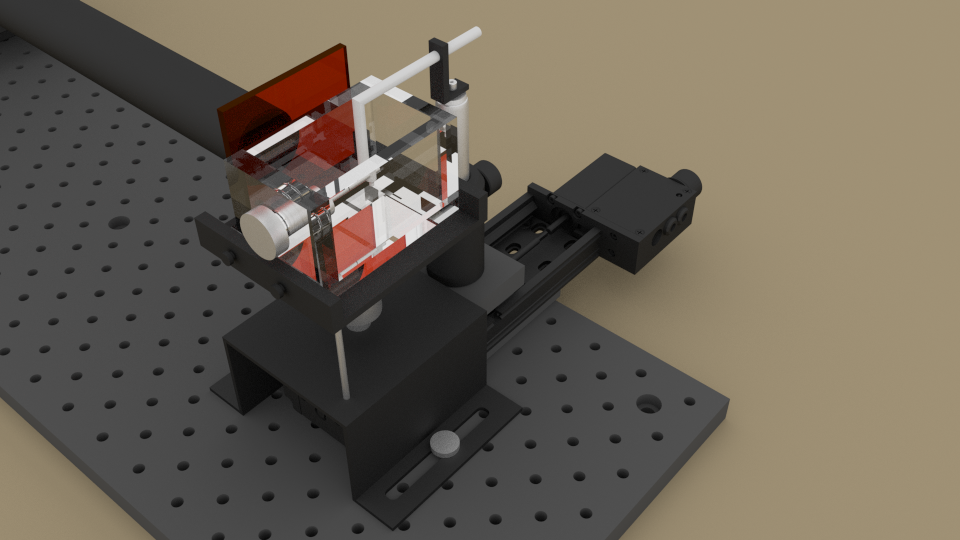
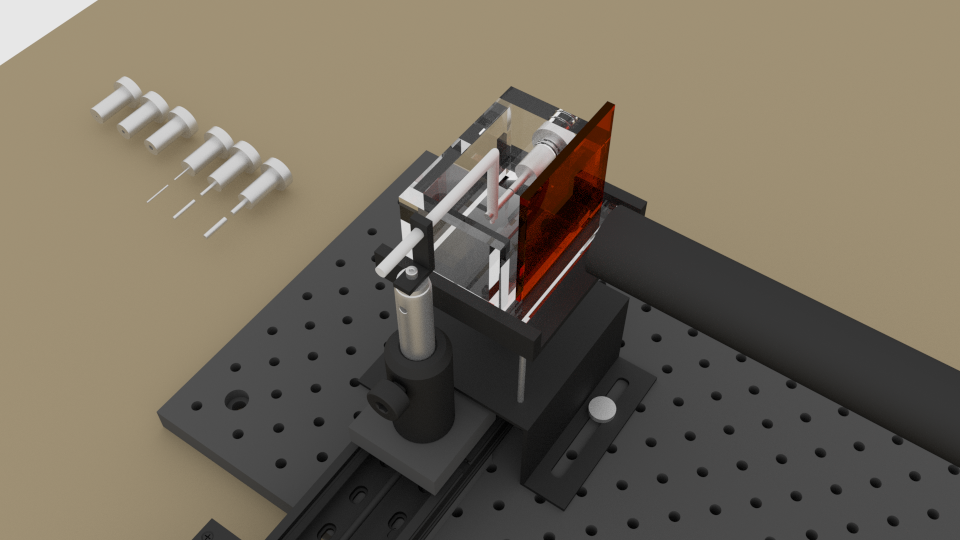
Whenever possible I try to use Blender at work. Here are two renders of an experimental setup I'm preparing. Apart from the visual aspect, it was useful to quickly check possible conflicts between parts and to size the necessary free paths of the lifting table.
0 Comments
It's been almost a year since I left in stand-by the animation short movie I'm creating with Blender. I made the animatics then and now it's time to keep developing the final version. For now, I'll start by modeling the main male character from this concept art by a friend, Miguel Melo. I can't guarantee a fast pace on the development of the movie, but I'll try to work on it a little bit every week. This is a work in progress for a project of João Cesário, the author of Aura Mecânica, a b&w comics that he is now managing to convert it to a 3D animation movie. You can follow the development in the facebook page or and in the portuguese blender forum and you can help by modelling some of the missing characters and props. This is my small contribution for the project so far, I've modeled this character, "Robot da construção civil" from his reference drawings. It still needs some touches and the rigging but it's almost done. The final renderings will be in black and white with a technique developed by Paulo Martins. In the last two weeks I've been preparing this website, about Cross-stich, and I've used Blender to show how some images could be transformed into Cross-stich. For the images to show the aspect of the Cross-stich, I've used node compositor with 3 images and 3 UV maps. 1. Image and UV map of the base textile, after creating a tileable texture. 2. Image and UV map of a line cross, with transparency where there is no cross. 3. Image and UV map of the drawing, with transparency where there is no image.
With the combination of these 3 images in the node editor, it is possible to create an image like this to show how the final result would be: |
AuthorRenato Sousa Blog up to October 2012Archives
August 2016
Categories
All
|